
Blog
Apple iOS 16 Compatibility
Apple made a small change to their bluetooth stack in iOS 16. Some users have upgrade to iOS 16 already without a problem, but other users are reporting they can no longer connect to their Tracers....
How to measure your bike to use the Motion Instruments data analysis system
Introduction
With respect to data collection using the Motion Instruments (MI) system, there are two types of bikes: 1) Bikes that you can attach the sensor in line with the rear shock, 2) Bikes ...
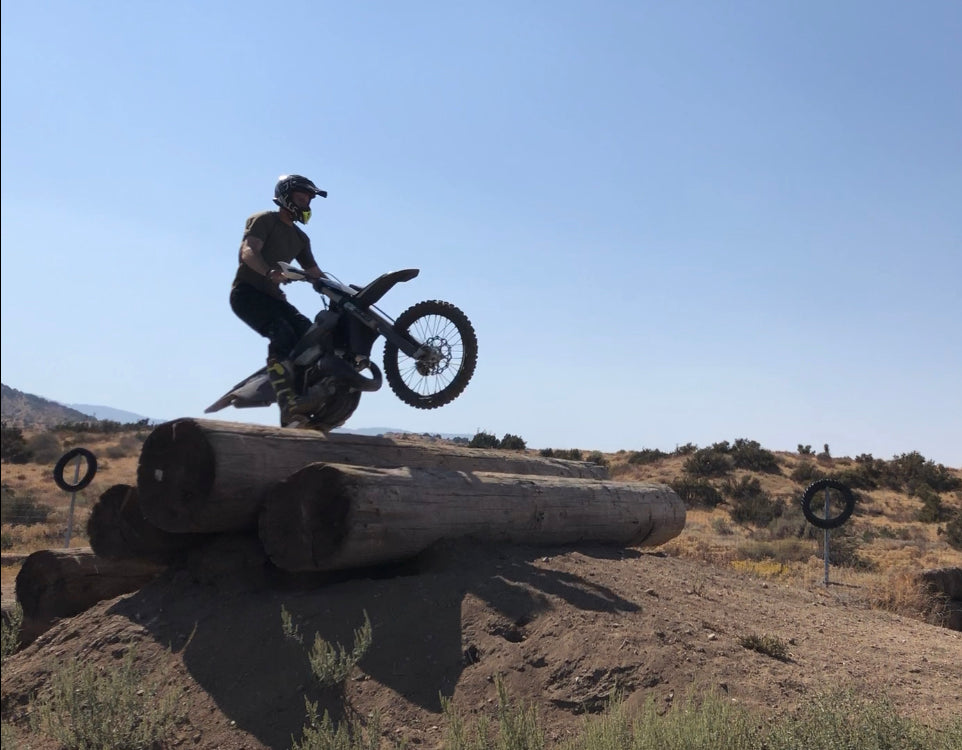
20% Faster, Same Bike, Same Rider, Proper Suspension Setup using Data.
Check out what these engineering students achieved using one of our systems. An everyday rider was able to take a big chunk of time out of their local downhill trail.
Introducing Data Logger for Android
We are pleased to announce our new free app for Android devices called Data Logger. With this new app suspension pros can easily gather data from their customers using any device running iOS o...
New app feature: Data Logger Link
Introduction
Today we are rolling out a new feature for MotionIQ called Data Logger Link. You may find this new feature useful if:
You want to help a family member or friend with their suspension ...

Greg Minnaar Wins World Championships with Motion Instruments
By now, anyone who’s into downhill racing knows that Greg Minnaar is the winningest racer of all time, owning the most World Cup wins and podium finishes. His performance and fourth World Champion...
Feedback from a Mark Johnson "Factory for a Day" customer.
When a customer of one of your customer’s calls you to praise your product, well that is a call you want to pick up. One of our early Moto Customers, Mark Johnson from REP Suspension, launched a “F...
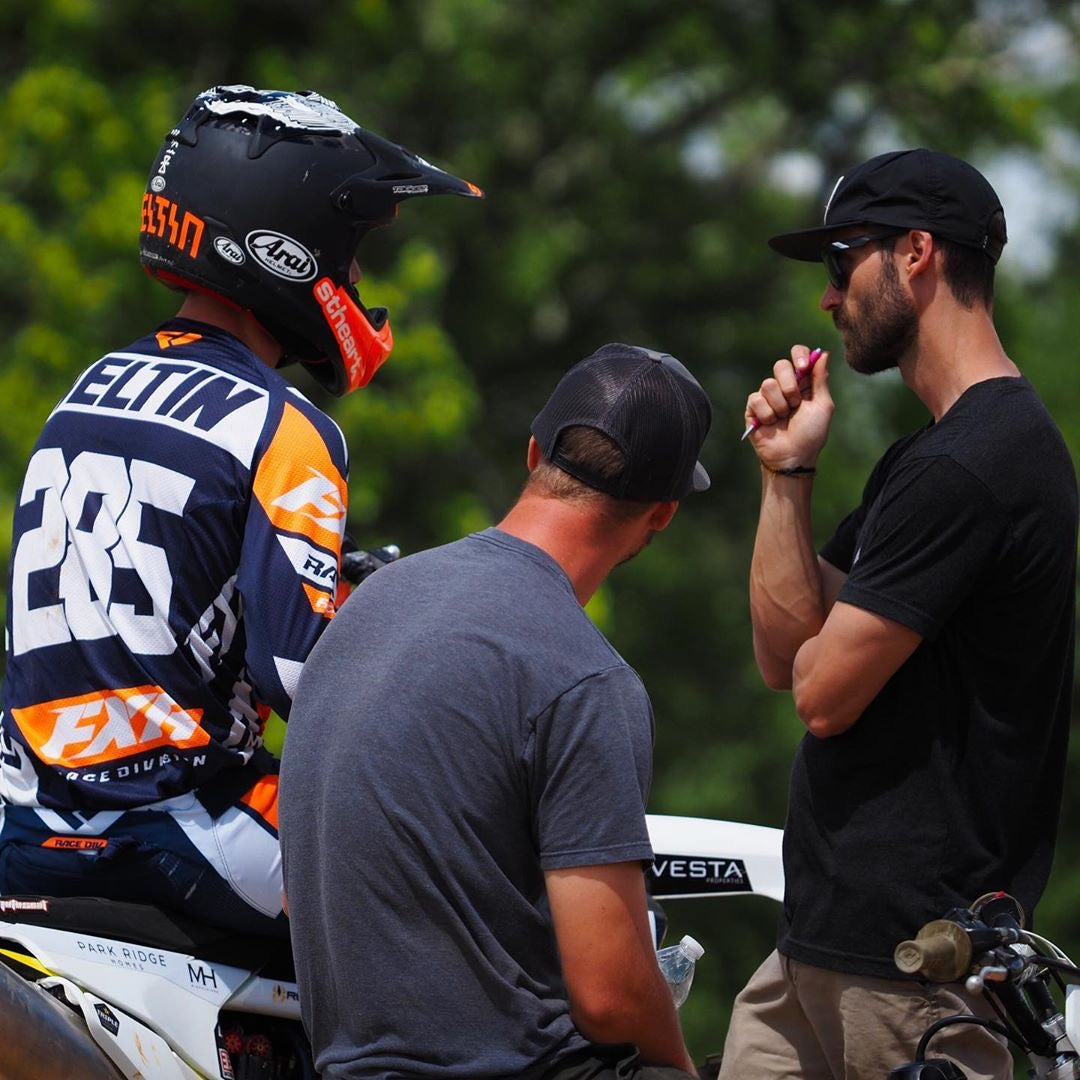
Suspension Testing With Mark Johnson
Since we started Motion Instruments, we’ve had an opportunity to work with the best MTB and Moto racers in the world. What you may not realize is that there is a team of professionals working in th...

Visualizing Damper Performance
We have been working on a way to visualize damper performance for a while. Over the years of analyzing data, there were still some lingering questions we had about damper performance and quantifyin...